Archive for the ‘Knitting’ Category

Whoosh!

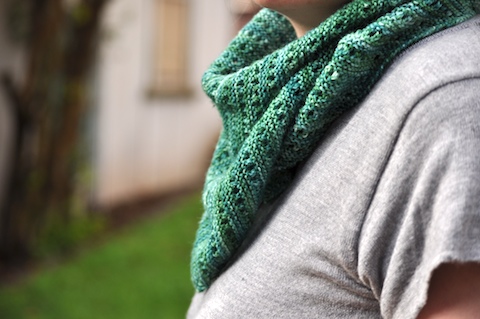
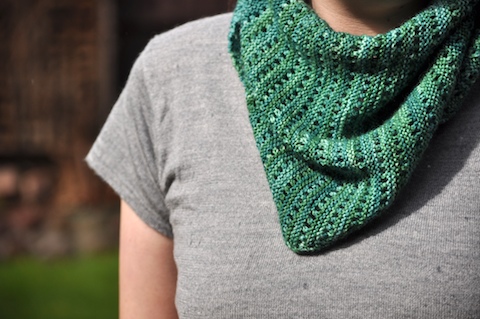
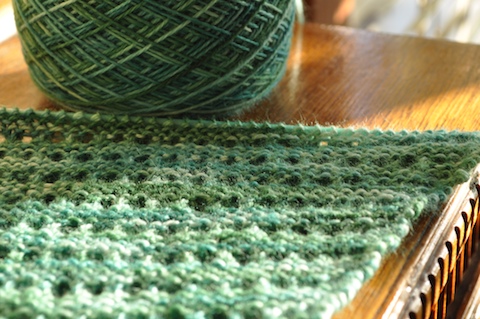
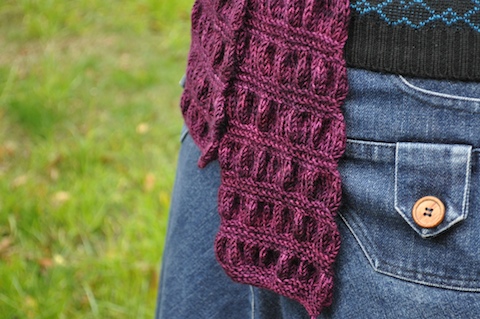
A little bit of knitting on the train, a little bit of knitting during lunch breaks, and before I knew it, this scarf was done.

DSC_0963.jpg

Gathered Scarf by Maryse Roudier
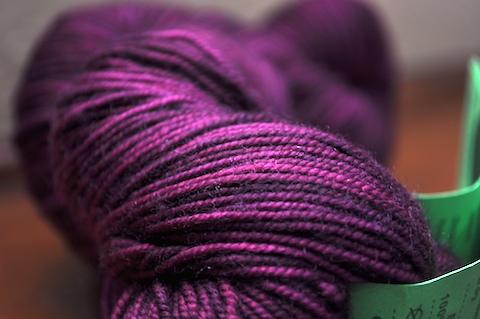
1 skein Collinette Jitterbug, Velvet Plum
3.5mm and 4.5mm needles
Started: September 2009
Finished: September 2009
Modifications: started with garter stitch rather than stockingette, and worked over 46 stitches rather than 48
Ravelryed here

All up this took 3 weeks at most, which is quite surprising given the yarn and needle size. I highly recommend it as a commute knit, even with the needle changes, as the easily-remembered pattern makes it a good ‘pick up, put down’ project.

While purple isn’t my colour (the scarf is intended for someone else), Velvet Plum has made me fall for semi solids. I doubt I’d ever use semi solids for a larger item of clothing, like a jumper, but in small doses I think it’s terrific. Particularly with this pattern, the variation in colour works in well with the gathered stripes.

Unfortunately I’m now at a loose end, commute knit-wise. None of my current projects are really suitable for commute knitting, yet I’m reluctant to start another. Quite the conundrum.

Uncropped, untryst vest: a tutorial

Since finishing my green vest a little while ago, I’ve had a couple of questions about how I lengthened the vest (the original pattern is for a cropped vest). With the permission of the designer, Kristen TenDyke, I thought I’d put up some notes about how I went about it. This is my first proper attempt at explaining alterations to a pattern, so please forgive me if it goes into too much detail, or not enough.

Some caveats before I start: the modifications worked well with the yarn I used, the garment size and my body type. You may need to go about things a little differently in order to make it work for you. These notes are meant purely to give an idea of one way the vest can be lengthened to sit at the hip, rather than starting from the ribs. These suggestions should be read in conjunction with the original pattern, which can be found here.

All numbers used will be based on the medium size, which is the size I made. The numbers are there to give a concrete example of how the shaping works, rather than just trying to explain it in abstract terms.

DSC_0872.jpg

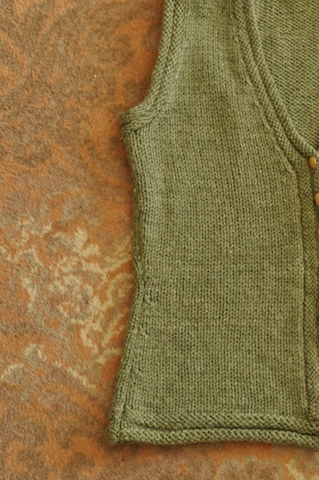
The shaping I used follows a basic hourglass form; the width decreases from the hip to the waist, and then increases from the waist to the armholes. In a nutshell, I did a mirror image of the waist to armhole shaping. Hopefully the photo above shows that shaping clearly enough.

Back

The number of stitches cast on is equal to the number of stitches just before the armhole decreases. So, in the case of the medium size, I cast on 80 stitches rather than 72. The border is worked as instructed in the pattern. The shaping is then worked as follows:

Starting from the first row after the border, I decreased both sides every 10 rows, 4 times. This left me with 72 stitches — the number you would cast on if making the original version. From here I knit 4 rows, then followed the pattern as written. The 4 rows in between the decreases and increases were added to ensure I got the right length for my body.

In some ways, the medium is a bad example because it has the most straightforward shaping. If I were making the small size, I would do the waist shaping as follows:

Starting from the first row after the border, decrease each side every 8 rows once, and then every 10 rows 3 times.

Essentially, you’re reversing the waist to armhole shaping in two ways; instead of increasing, you’re decreasing, and you’re reversing when the decreases are made (rather than every 10 rows x 3 and every 8 rows x 1, it’s every 8 rows x 1 and every 10 rows x 3). The reason I would do it this way is for symmetry. However, I don’t know if it would make that much of a difference.

Front Pieces

For the front you just need to cast on half the back stitches for each front piece. So for a medium, just cast on 40, rather than 80. Follow the same pattern with the decreases (but just for one side), remembering to cast off 5 after the border to account for the button band.

The length of the piece before decreasing for the neck can be calculated as follows:

length before neck shaping = length covered by the hip to waist decreases (do not include the border, but do include any extra rows before the waist to armhole increases) + the length specified in the original pattern.

For me, 14.5cm (5.75 inches) covered the decreases from hip to waist, plus the 4 rows of stockingette. Add that to the length of the piece specified in the pattern before starting the neck shaping (6.25 inches for medium), making the front pieces measure 30 cm (12 inches) before starting the neck shaping.

I followed the pattern after that point. All decreases (waist to arm hole, and neck) were worked as in the pattern.

Buttonband

I winged this bit the most out of all the modifications. I picked up the number of stitches around the neck as specified in the pattern. However, down the fronts, I picked up roughly one stitch for each row, ensuring the same number of stitches were picked up on both front pieces. As I roughly doubled the length of the vest, I put in 8 buttonholes. Because the pattern calls for rather bulky yarn, I recommend putting in more buttonholes rather than less. The bulk can result in pulling between the buttonholes which is a hard look to pull off. Having more buttonholes alleviates this issue.

I’m reluctant to give stitch numbers here, as it’s highly dependent on the length of the vest and how many stitches you pick up around the edges. Ultimately, just take the number of stitches picked up between along the fronts, divide it by the number of buttons you want and move the numbers around so the number of stitches between buttonholes are pretty much the same (e.g the number of stitches between buttonholes alternated between 7 and 8 stitches for me).

So, that’s all the alterations I made to the pattern to come up a vest that sits at the hip rather than the waist. I hope that it’s useful for anyone who’s thinking of making a longer version of the vest, and doesn’t add confusion. If any of my instructions are unclear, please let me know and I’ll try to explain it better.
A suave sweater saga

This blog had an unintentional break in transmission, largely due to the lack of writing material. I have been knitting, but they are projects that I can’t quite blog about just yet. In the meantime, I thought I’d break up the radio silence with a story about my next (bloggable) project.

This project was started in 2005, after finding the pattern in a local op shop. The title of the pattern book is Suave Sweaters. Unfortunately I seem to have misplaced the pattern book, but if you think along the lines of ‘Men’s jumpers from the 70s, vacuumed sealed onto the model’, you’re in the ball park. Within this gem of a book, was a nice diagonal rib jumper that I thought would look good on Matt, in a non vacuum sealed form.

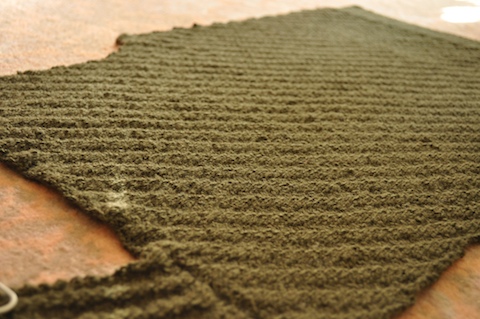
DSC_0840.jpg

So off I went, and in my usual slow and steady pace, finished all parts of the jumper by 2006 (admittedly it was a 5ply pattern, using 3mm needles). As I was seaming it up, I got Matt to try it on, and it was HUGE. The sleeves were more like drop, rather than set in, sleeves, and you could reasonably fit 1.5 Matts in the body.

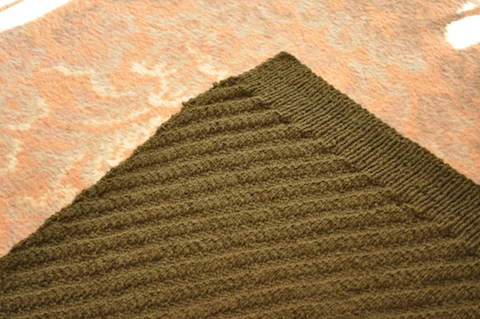
DSC_0842 (1).jpg

Down, but not out, I frogged it all and started again. The second time round it took me a bit longer due to a slight lack of interest and the gauge conversions to get the parts right. Being slightly wiser, the parts were measured against Matt at regular intervals and everything seemed to be going swimmingly. Until seaming.

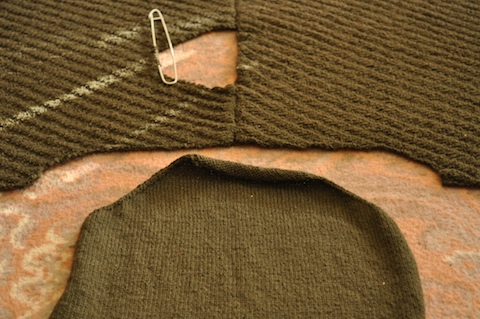
DSC_0844.jpg

I had managed to screw up the conversion at the armscye, so the sleeve caps were waaaaaay too small. Slightly more forlorn than the first time, the suave sweater sat in my pile of ‘to do’ knits for another year or so. Now I think I’m ready to tackle it again.

I have a handy dandy calculator in hand and a little bit more knitting experience under my belt. Hopefully it’ll be third time lucky.

Does this make me a process knitter? Or just stubborn (or foolish)?

a good end to a no good, very bad week.

It has only been one event that caused this no good, very bad week, but it has caused enough upset in the Pransell household that it’s spoiled the whole week. However, I was determined to get something finished, to feel like something good and productive has come out of the last seven days. While it is unblocked, I feel that I’ve gone some way to achieving that.

DSC_0852.jpg

Baktus Scarf (lace version) by Tehri Montonen (original pattern by Strikkelise)
75g Knittery 4ply merino (have lost the label, and can’t remember the colourway sorry!)
3mm needles
Started: July 2009
Finished: August 2009

This project was borne out of a need (or want, more like) to work on something simple while we moved and for my commute to work (my poor bikes are sadly neglected in our new location). It worked well in those circumstances as the pattern was easy to remember after a couple of repeats and the project itself was quite compact.

DSC_0855.jpg

Prior to making Baktus, I was absolutely convinced that variegated yarns and shawls were not for me. In fact, this yarn was not far away from being offered up for destash. Now I think there are exceptions to the rule. I don’t Baktus is something that will become a wardrobe staple for me, but I do think it will work well as a ‘transitional weather’ piece.

Looking at it now it’s off the needles, it does seem a little short. I don’t intend to wear it over my shoulders, just as a neckerchief, but a good blocking should be able to sort the shortness out somewhat.

Victory Jumper

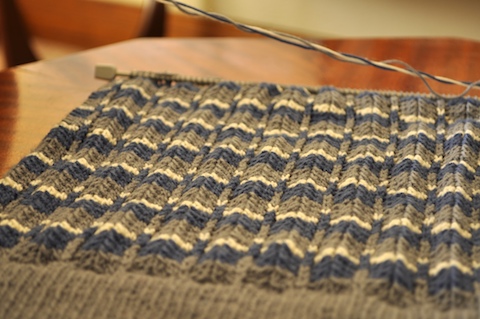
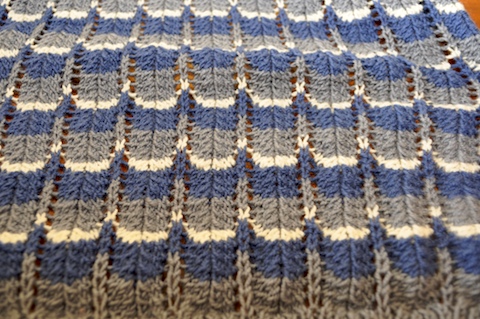
It recently dawned on me that I haven’t posted any progress photos of the Victory Jumper. I think that’s a bit rude of me, expecially given the much appreciated (and needed) help I received when starting this project.

Apologies for the photos as they are a bit below par. The light’s a bit weak here today, and surfaces that aren’t boxes are in short supply ’round here still.

formatted MU building  004.jpg

It’s not a fast knit by any means, but it’s still enjoyable. The pattern write up suggests that it’s really easy to remember, which has been true for me. Whenever I see “easy” mentioned in a vintage pattern I’m a bit wary, as rightly or wrongly, I tend to think that the general skill level of knitters was higher back then, and there’s a lot more assumed knowledge. That said, it’s all been pretty straight forward so far.

formatted MU building  005.jpg

The only drawback of this project is that it’s not very portable. The three balls of yarn get tangled up pretty easily so I can only really work on it when I’m at home. It’s a little bit of a pain because I’m back to using public transport in my commute to and from work, but it’s really only a minor irritation.

sheeping and snooping

Last weekend was spent galavanting around the countryside. As mentioned in the last post, Saturday was spent in Bendigo checking out the Sheep and Wool Show. There was a lot of looking at yarn and marvelling at the sea of Ravelry badges, but only one thing was purchased.

formatted MU building  001.jpg

Now I understand why people love Colinette Jitterbug so much. So many wonderful colours! Jitterbug is quite a departure from the mental image of ribbon yarn I previously had of Colinette yarn. This yarn, velvet plum, is destined for someone else, but I think I’ll be buying some for myself once some stash is cleared out. There was one other thing I wanted to cart away from the show…

formatted MU building  002.jpg

Yesterday was Melbourne Open House, part of the State of Design Festival. Like the rest of Melbourne, I wanted to check out the Manchester Unity building. A little over an hour of queueing, we were in. A truly lovely building inside and out, and well worth the wait to get in. I heartily recommend seeking it out next year.

formatted MU building  003.jpg

A quick post…

…using my parents’ internet while I visit (and go to the Bendigo Sheep and Wool Show). If the internet gods are smiling upon us, we’ll have the net at our new house this week. It’s funny how reliant on the internet we’ve become; on the one hand it’s a little frightening how our much of our lives revolve around it, but also testament to how useful it is.

The house is still a sea of boxes, but I have located all my knitting gear (A couple of projects came with me of course). However, as my current projects required a bit of concentration, I started a new, relatively mindless knit just for the moments here and there between packing, cleaning, and then cleaning and unpacking.

DSC_0615.jpg

The original pattern is Baktus by Strikkelise, but Tehri from Mustaa Villaa posted a variation with a yarn over row. I’m not sure who it’s for, but I’m enjoying the process of knitting it, so I’ll deal with the recipient issue later.

Claudia, or Claudius?

Thanks everyone for your lovely comments about the Tyrolean Cardigan. Vintage and vintage-esque knits is really the direction I’ve been wanting to go down for quite some time and it’s lovely to get some affirmation that it was a good move (for this project anyway). Ultimately it’s been myself, and myself only, that’s prevented me knitting the things I really want to knit and wear. In a classic case of not seeing the forest for the trees, it’s been short term things, such as being put off by the fine gauge or the extra effort required for yarn substitutions, that had been my focus, rather than knowing that I’ll be creating a garment that I will enjoy and wear a lot. It’s funny how there’s such a difference between the projects you would like to work on and the projects you would actually use, once all those hours of labour (and love) have gone in.

Although not vintage, this is a project, finished at around the same time as the cardigan, that ticked both of those boxes:

DSC_0588.jpg

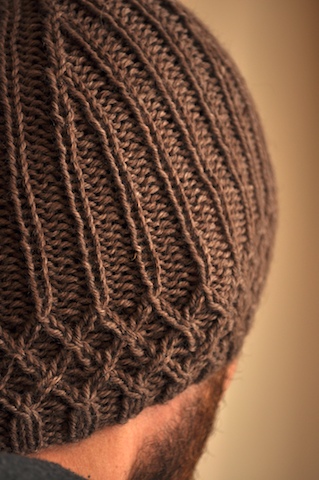
Claudia by MJ Kim
1.1 balls of Balmoral Tweed (not 100 per cent sure of how much yarn was used, as I just used scraps leftover from Dad’s vest. It wouldn’t have been much more than 50 grams though)
3.50 and 4.00 mm needles
Start: June 2009
Finish: June 2009
Ravelryed here

Despite its feminine name, I think Claudia makes for a good unisex beanie. The only modifications came about by pure accident; I crossed the wrong way on the first row of trellis stitch, so the other crosses have also been reversed, and the post-trellis stitch ribbing was meant to be knit through the back of the stitch. It was a little while before these mistakes were realised, but the recipient doesn’t seem to mind, and I don’t mind, so we’re all good as far as I’m concerned. Something that bothers me a little is that it’s currently unblocked, and I think the ribbing would settle a little if it was. Given it’s current amount of use, I might have to wait until after winter before I can block it.

The next couple of weeks are going to be fairly busy in the Pransell household, as we are planning an interstate move in about a week and a half. While I’ll be at home during this time, I’m not sure if I’ll be able to post much more before we head off. The intention to post a little more frequently is there, but how this reconciles with reality is an entirely different matter.

This project brought out the duffer in me

Not sure what exactly it was about my green cardi, but whenever I did anything with it, it seemed to suck the common sense right out of me.

First it was not getting the fronts even, then it was forgetting that I could take passable flash photos using the external flash bought from a recent school fete for the princely sum of five dollars.

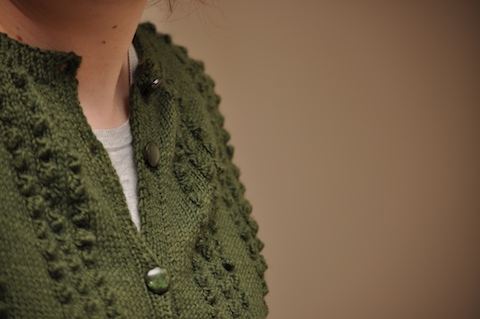
So, the Tyrolean, or Duffer, Cardigan is now finished.

DSC_0439.jpg

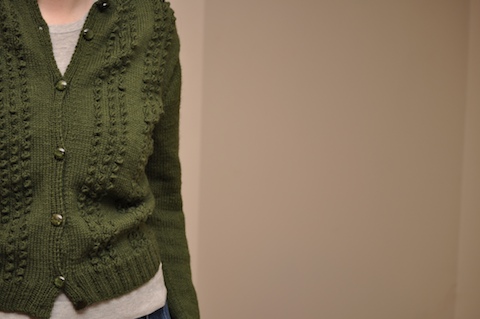
Tyrolean Cardigan from Vintage Knits by Sarah Dallas
4.25 balls of Panda Pure Wool, dark green
3.25 and 4.00 mm needles
Start: August 2008
Finish: June 2009
Ravelryed here

Overall, I’m quite happy with it. The bobbles look good, it’s warm (very important now it’s getting proper cold here), and the buttons match well. I suspect that I may have mentioned it in a previous post, but the yarn and buttons were stash, and I already had the book. That in itself pleases me as much as the finished product!

DSC_0427.jpg

The only modification made to the pattern was to lengthen it slightly to accommodate my longish body. The cardigan body is a perhaps a bit boxy for my body, but that’s easily solved by only using the buttons around the waist. If I were to do it over again, waist shaping a la the non-cropped, non-tryst vest might be a better option for me. That said, I’m sure this is something I’ll be wearing a lot.

What’s next?

A knitting lull has settled here in the wake of finishing Dad’s vest. There are a few projects I’m interested in making, but for some reason there is nary a set of 2.75mm circular or straight needles in the house, the very size that I need for each of these projects. Even more disturbing is that it seems to be a size that’s not available in Addi Turbos (I’d love to be corrected on this, as I’m quite the Addi Turbo fan). Drastic times mean drastic action.

DSC_0394.jpg

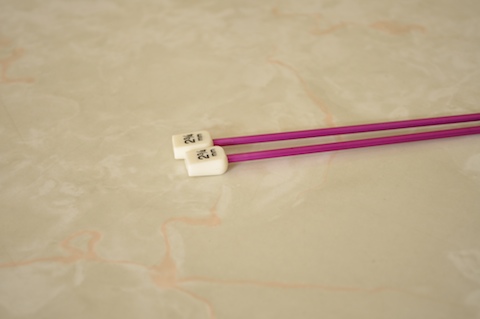
Drastic of course being magenta anodised aluminium knitting needles. I do adore anodised aluminium, particularly in a lamp context, but the magenta is GAUDY! However, besides that nitpicky niggle, I’m happy there is now a pair of 2.75mm needles in my possession.

As I cannot decide what to knit next with my flashy magenta needles, I thought I’d turn it over to you guys. Here are the yarn nominees, along with links to the patterns intended for each yarn:

DSC_0362.jpg

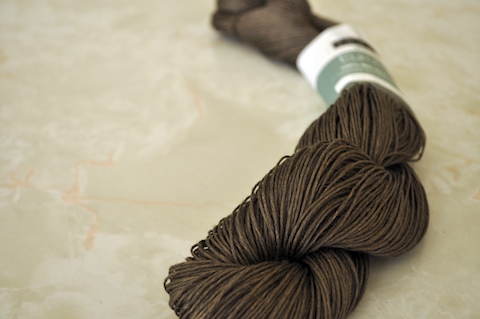
Bottoms Up (rav link only) by Alice Bell, in Pewter Euroflax Sport,

DSC_0356.jpg

Blue Bird Jumper (the last photo in this post) from A Stitch In Time, in the sadly long discontinued Bendigo Woollen Mills Rustic 5ply, green tweed,

DSC_0371.jpg

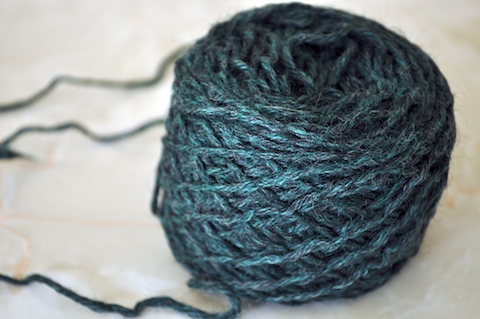
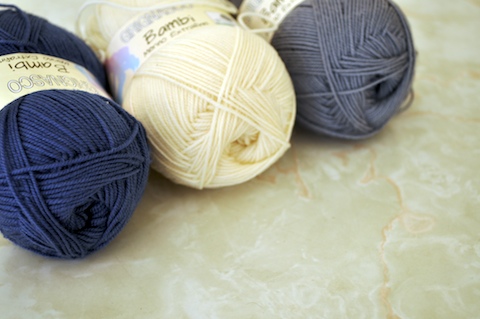
Your Victory Jumper by Home Notes, using grey, blue and cream Grignasco Bambi, and

DSC_0386.jpg

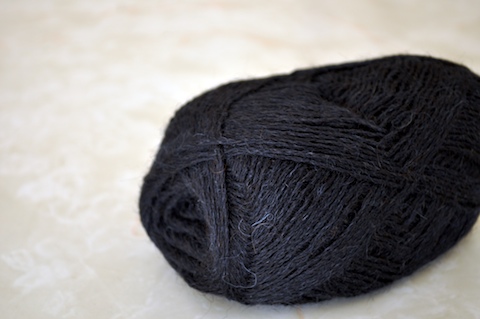
Zig Zag lace top (rav link only again, sorry) in black alpaca lace from the Bendigo Woollen Mills Bargain Room.

I’ll tally the votes on Wednesday 10 June. In the mean time, I try to finish knitting a beanie and, if we’re all lucky, my bobble cardigan.