We loved it to bits.
We went to museums…
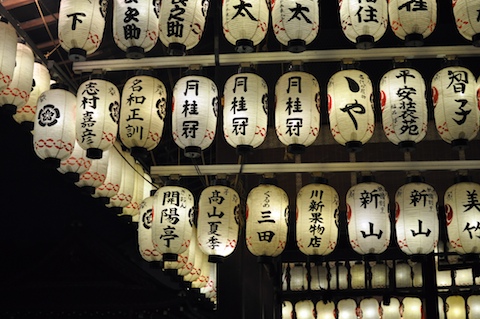
… and to temples
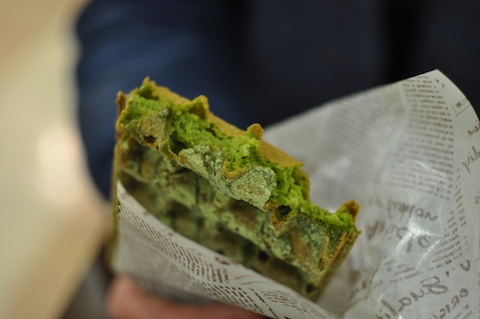
Ate crazy food
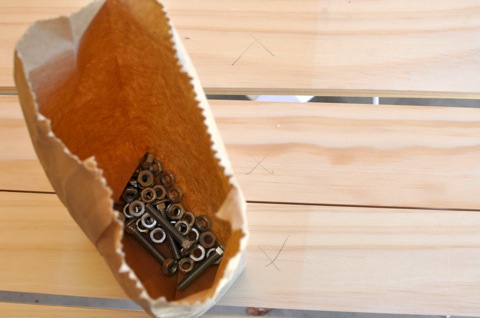
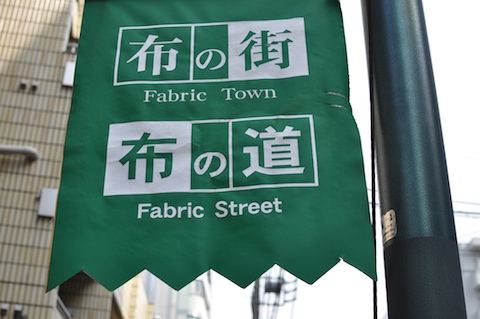
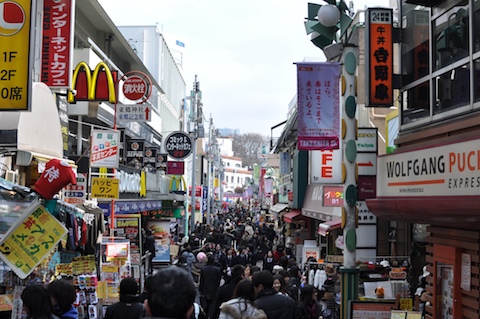
Shopped. A lot
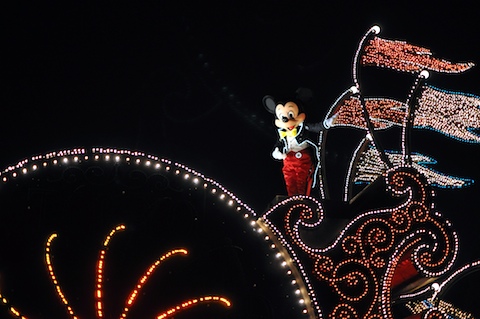
Relived some of my childhood
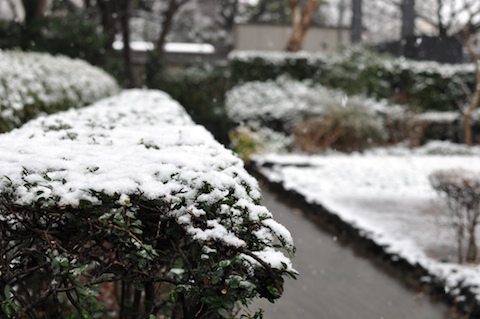
Saw snow falling in Tokyo (a relatively unusual event, apparently)
and wandered around aimlessly.
We only really covered Tokyo and Kyoto in the two weeks we were there, but we’re very keen to go back and explore.
Our Japanese language skills are virtually non-existent, but we were able to get around fine. Everyone we had to converse with was very polite and helpful and we learnt to never underrate the usefulness of mime to get past the language barrier.
As vegetarians, we did have some trouble finding food but managed OK. Positive notable mentions include Deva Deva in Kichijoji, Cafe Proverbs 15:17 in Kyoto, Eat more greens in Azabu and the numerous convenience stores for their delicious and cheap kombu onigiri. A dishonourable mention goes to Disneyland — there was only one place that served vegetarian food, but it had to be purchased as part of a three course meal. Three course meals aren’t conducive to cramming in as many rides as possible into a day.
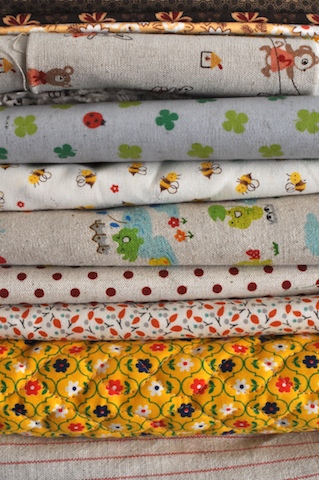
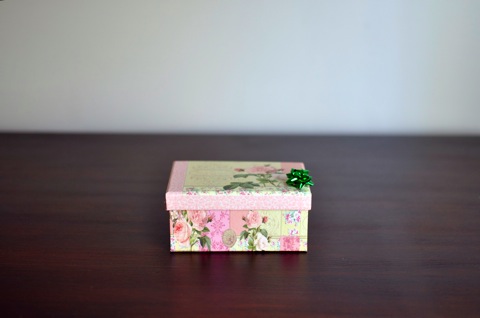
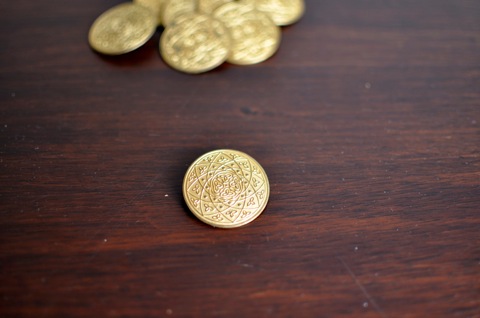
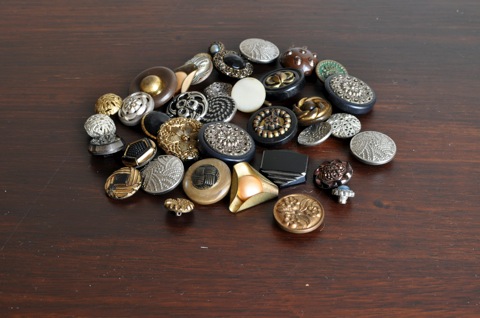
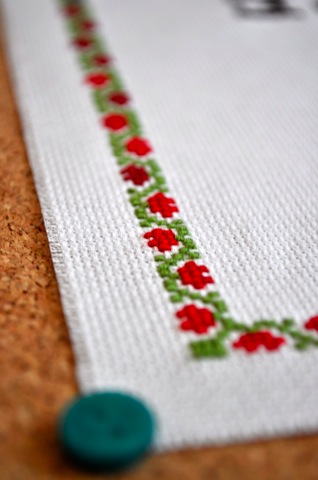
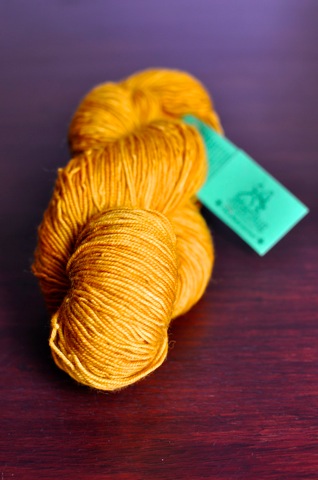
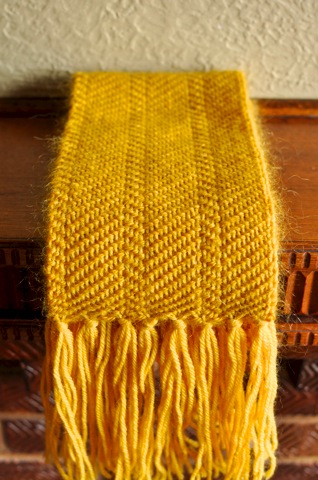
Craftwise, I did something possibly quite blasphemous. I did not buy any yarn. I did see some lovely (and not so lovely – Sean Sheep novelty yarn, to be exact!) yarn about, but decided to hold out for fabric. I came back with a lot of linen and could have come back with more. Next time, I’ll have to travel during warmer months so I can pack less and take more back! We also visited possibly the most wonderful shop in the world, Rollo in Kyoto which sold vintage trim, buttons and beads. It was a funny little shop, open funny hours, but if I was ever to open a shop, I would want it to be like Rollo. I loved it.
There is so much more I could say about Japan, but feel I have rabbited on enough. However, I’d like to finish with some tips for people who are planning to visit Japan in the future.
Travel
If you are planning to spend most of your time in Tokyo, think carefully about buying a Japan Rail Pass. They can be used on the above ground JR lines, but are of most use if you plan to tour around Japan. We purchased 14 day passes, when we should have bought a 7 day pass for use when going to Kyoto.
When in Tokyo, I highly recommend getting a Pasmo or Suica card for travel on the Subway. We were lucky in that our hosts had some spare passes we could top up, which meant we didn’t need to worry about buying subway tickets. If you have an iPhone or iPod touch, I highly recommend Tokyo Metro 09 to help with commuting from place to place. It works offline, so doesn’t cost you anything data wise, and we found it very very useful. The app cost AUD$1.19.
In Kyoto, the best way to get around is by bus, using a 500 yen daily pass in conjunction with a Bus Navi, a map with all the routes and major sights.
Food
As mentioned previously, we did have a little trouble being vegetarian, but we still ate well. Happy Cow has good listings of vegetarian/vegan places to eat, and we relied on it heavily. There is an app that uses Happy Cow listings, but requires the use of an internet connection so we didn’t use it while away.
If all else fails, there are convenience stores everywhere, which sell really quite cheap and pretty healthy food. We ate a lot of onigiri and plain inari, but didn’t get sick of it.
Shopping
There seems to be an insatiable appetite for shopping in Tokyo, and it’s really hard not to get swept up in it. The guide we relied on most was the Tokyo Shopping Guide from Asking For Trouble. There’s also a great Tokyo shopping post on The Lark.
Sights
It’s really quite hard to come up with a ‘must do’ list, but some of the highlights for us were the Studio Ghibli Museum in Mitaka (buy your ticket before getting to Japan), the view from the Mori Art Museum in Roppongi and Ginkaku-ji (temple of the silver pavillion) in Kyoto. A special mention must go to Hakone, a day trip from Tokyo. There is lots to see and do there, but it’s worth setting aside a good portion of a day to see the Hakone Open Air Museum. It’s one of the best museums I have ever been to, hands down.
Despite the above list, possibly the best thing you can do while in Tokyo or Kyoto though is just wander around. You can stumble across some wonderful treasures.
So, that’s our Japan trip summed up in one, very long for this blog, blog post. If you’ve ever considered going to Japan, I highly recommend it. It’s a really wonderful place.