Rhymes with
August 11th, 2013
There were no fireworks to mark it, but the year of the vintage pattern has commenced. The last of my modern projects was finished nearly a month ago (photos of three unblogged but finished modern projects will be forthcoming once the weather and I are back on speaking terms) so all I’m working on at the moment are projects from vintage patterns.
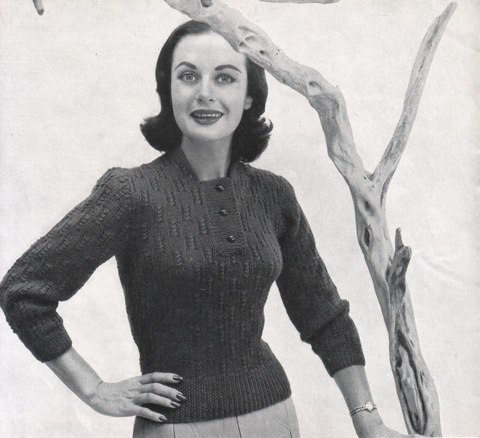
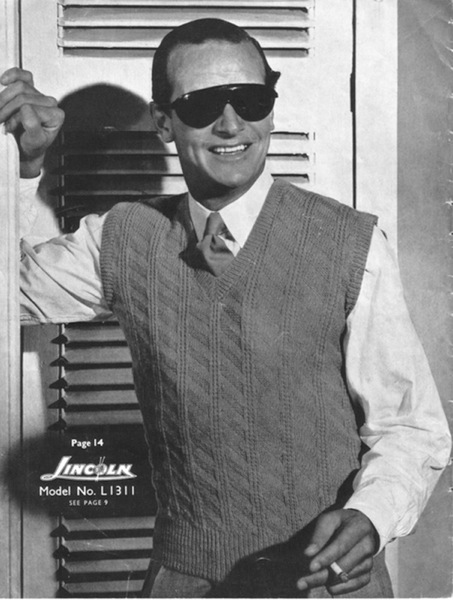
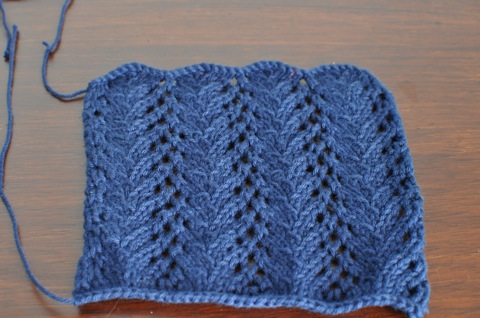
One of the projects I’m working on is the highly descriptive ‘Variation of Cable Stitch’ from Hughes Book 208. It took me a while to notice this pattern because I was distracted by the model’s facial expression. Why does she look so startled? Did she knock her head on the branch? Was she just really excited to be there? Was she trying to distract everyone from her talon-like fingernails? The most likely possibility is that she was just surprised at the colour of the yarn I’m using to make this jumper:
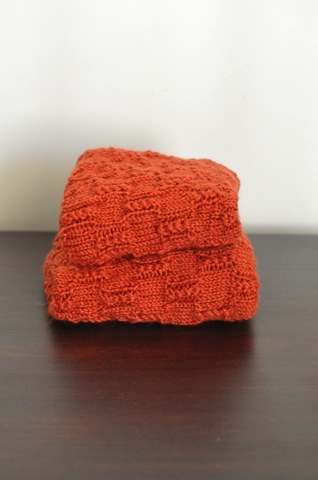
Orange! It’s only a little outside of my usual blue/grey/brown choices but the more I knit with it, the more I like it. I think it’s a good complement and counterpoint to the normal colours in my wardrobe.
The only problem I’ve had with the yarn (Morris and Sons Estate 8ply, if you’re interested) so far is not the colour, but the amount of yarn. I picked up 400 grams of the yarn at a market in February and by the time I got to the sleeves at the end of May, it was evident that there wasn’t enough to finish it with what I had left. Compounding the problem was the fact I couldn’t get any more of the same dye lot and Morris and Sons had it on back order. So I waited, and waited and waited until more yarn came in.
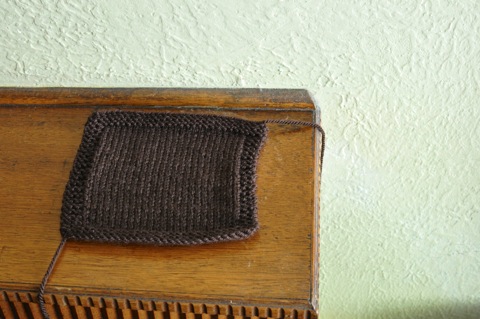
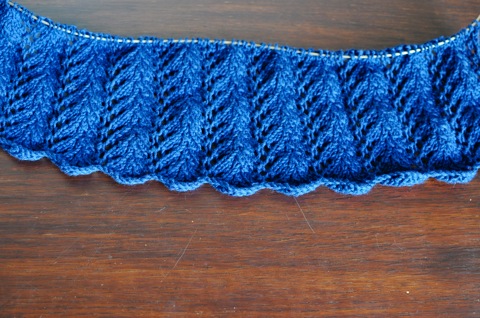
When I picked up the yarn last week, it looked like I was running headlong into a dye lot nightmare. Luckily my colour memory is pretty bad, because when they’re together they look pretty much the same to me. If anything, the new dye lot (on the left) is possibly slightly lighter than the original dye lot.
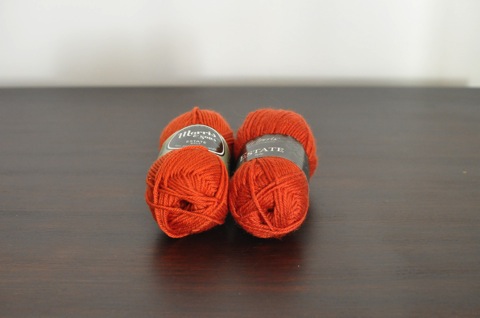
Even though they look like a pretty good match, there’s still that tiny little concern that there might be a noticeable difference between the two once they’re knitted up. So, I’m taking the tedious route of striping the two dye lots just in case. Such is the cost of being a risk averse soul.